Table of Contents
Books are an investment and a fragile commodity that need proper maintenance to last a lifetime. Bookmarks are a marking tool that keeps your books in good or even mint condition by keeping dog-ear perpetrators at bay. Bookmarks allow you to keep track of your progress and quickly return to where you left off in the previous reading session. Fun bookmarks for youngsters urge them to take good care of their books. There are several DIY bookmarks for you to make that can be a stepping stone in making your reading journey more enjoyable.
Here are a few ideas to make some exciting bookmarks
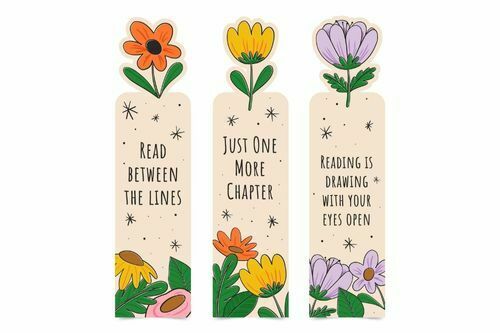
Bookmarks with quotations
Making this bookmark part of a school craft assignment allows them to depict whatever season they want.
What You Will Require
- Colorful Paper
- Sketch Pen
- Paintbrush
- Stickers
- Scissors
Follow the following steps:
Using scissors, cut card stock paper into 1.5-inch-wide strips.
Choose any color and customize it as wanted for the bookmarks.
Once the paint is dry then, laminate them.
Miniature Bookmark

This gorgeous pixilated activity allows youngsters to embrace the multi-bead experience and become creative geniuses in various ways.
What will you require:
- What You Will Require:
- Boards
- Ironing Paper
- Standard Metal Paper Clips
- Iron
Follow the following steps:
On the Perler grid board, create a design with Perler beads.
Melt one side of the method by placing it on top of the ironing paper and pressing it down with a hot iron.
Turn it over once one side has been fused and attach a metal paper clip towards the bottom end of the design.
Continue to iron the ironing paper over the beads and paper clip. With a hot iron, press down until the pin is fused to the beads. Allow it to cool.
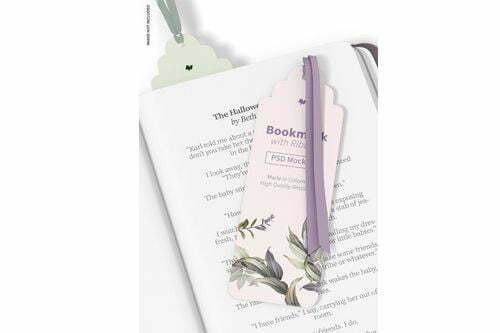
Bookmarks with Ribbon
These non-slip elastic ribbon bookmarks stretch to fit the book pages and ensure you never lose your page again.
What will you require:
- Decorative Ribbon (1/2 in. wide)
- A Pair of Scissors
- Elastic Hairbands
- Needle and Thread or Sewing Machine
- Decorative Buttons
Follow the following steps:
- Make 18-inch strips out of the ribbon.
- Fold the ribbon over 1/4 inch from one end. Fold it another 1/4 inch and stitch across with any design you want, either by hand or with a sewing machine.
- Fold the other end of the ribbon and secure it with an elastic hairband to complete one lot of the ribbon bookmarks.
- Attach a button to the other side of the ribbon with a needle and thread.
Bookmark the Ocean

These eye-catching bookmarks can pique your interest in nautical themes and the underwater realm.
What will you require:
- Pencils
- Watercolors
- Glue Stick
- Cartridge Paper
Follow the following steps:
- Make copies of your templates.
- Trace the outline of your bookmark template and cut it out. Fill in the blanks with different designs.
- Add some criss cross lines to make it look like a black glue-stained glass craft.
- Outline your design with black glue quickly enough to make the lines appear smoother and better.
- After it completely dries, paint on wet paper to create a stunning blend and spread. Allow it to dry.
- Cut out your shapes with Black Glue and watercolor bookmarks, leaving a small white rim around the borders.
Avengers Bookmark
Well, who doesn’t love the avengers? We for sure all get excited when we see something related to superheroes. Why not make ourselves one?
What will you require:
- Jumbo Craft Sticks – 3
- Clear Paintable Sealer or Mod Podge
- Black Sharpie
- Pattern
- Black Ballpoint Pen
- Paintbrushes
- Paint Colors
- White Paint Pen
Follow the following steps:
- Freehand the characters using all paint colors to cover all places according to the original patterns.
- After everything has dried, add the physical attributes and accouterments associated with the heroes with a white paint pen.
- Outline the mouth and teeth with a ballpoint pen. Allow them to dry.
- To protect everything, apply a coat of paintable sealant or Mod Podge. Allow it to air dry overnight.
Bookmarks Made with Washi Tape
Supplies around the home can make the washi tape bookmarks simple stores around the house.
What will you require:
- Card Stock or Heavier Weight Scrapbook Paper
- A Pair of Scissors
- Alphabet Stamps and Ink
- Paper Trimmer
- Washi Tape
- Ribbon
Follow the following steps:
- Cut the bits of paper into long rectangles about 2 inches wide and 6 inches tall.
- Make a hole at the top of the paper.
- Decorate the bookmark using washi tape in a variety of patterns and colors.
- Make it your own by using your favorite alphabet stamps.
- Tie a 4-5 inch ribbon around the bookmark’s hole.
Key takeaway
- All the bookmarks are made with the help of things lying around the house.
- Bookmarks allow us to track our progress in a book.
- It allows us to easily return to where the previous reading session ended.
Liked this blog? Read next: Functions of Management | Future managers, bookmark the list!
FAQs
Q1. What makes a good bookmark?
Answer – A good bookmark will keep you on track more clearly and consistently than a soiled scrap of paper, and it will protect the structural integrity of each page in the book. You’ll never want to go back to the days of guessing whether you were on page 67 or page 76 once you’ve tried a decent bookmark.
Q2.Who made bookmarks?
Answer- In reality, one of the oldest references to the use of bookmarks was done in 1584, when Queen Elizabeth I was presented with a fringed silk bookmark by the Queen’s Printer, Christopher Barker.
Q3. What factors contribute to the finest bookmark?
Answer- Paper. The paper you use for your bookmark should be thick but not as heavy as the card: 150 to 250 gsm is ideal.


